A Practical Guide to Gaming Laptop Mockup 54: Avoiding Common Presentation Pitfalls
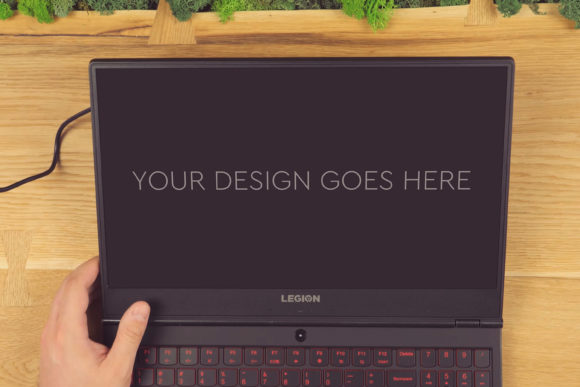
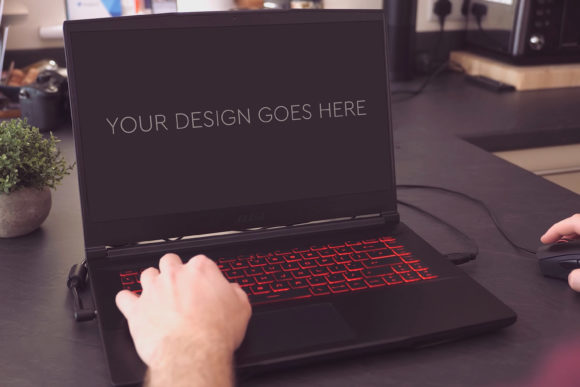
Presenting a design for a gaming laptop, whether it's a user interface, a branding concept, or a marketing graphic, requires a stage that feels authentic. A flat screenshot on a white background often fails to communicate the final context, leaving clients or stakeholders struggling to visualize the product in reality. This is where a quality mock-up becomes an indispensable tool, and Gaming Laptop Mockup 54 is designed specifically to fill that gap. It's not just a static image; it's a layered Photoshop file that allows you to seamlessly insert your design onto the screen of a stylish gaming laptop, complete with ambient lighting and professional photo filters, automating the most tedious part of presentation creation.
The Allure of Automation and the Hidden Complexity
The promise of "very easy to use, simply pop in your design and everything is automatic" is understandably appealing, especially for beginners, marketers, or freelancers who need quick, polished results. However, this simplicity can lead to the first major oversight: treating the mock-up as a one-click magic trick. The reality is that even automated tools require a foundational understanding to be used effectively. If you approach Gaming Laptop Mockup 54 without grasping how its Smart Objects work, you might end up with a design that looks distorted, misaligned, or oddly lit, undermining the professionalism you're trying to project.
Mistake One: Ignoring the Smart Object Layer
Many users download the PSD file, excited by the high-quality 3000x2000px dimensions and beautiful filters, and immediately try to paste their screenshot directly onto a random layer. This bypasses the engineered Smart Object layer, which is the core mechanism of the mock-up. The Smart Object is a container that intelligently scales and positions your design to fit the laptop screen's perspective correctly. Applying your design elsewhere results in a flat image that doesn't respect the laptop's angle, making the final composite look fake and amateurish.
The practical correction is simple yet crucial. Upon opening the layered and grouped PSD, locate the specifically named layer or group for the screen replacement—often labeled clearly. Double-clicking its thumbnail will open a new document window. Place your design here, save, and close. That's the "pop in" process. This ensures your work inherits the correct scale, warp, and lighting interaction baked into the mock-up.
Resolution Assumptions and Quality Trade-offs
Another common misunderstanding revolves around the mock-up's specifications. "High quality mock-up - Size 3000x2000px at 300dpi" is a significant feature. However, users sometimes mistakenly believe they can insert a low-resolution, 72dpi web screenshot and still output a flawless, print-ready presentation. The mock-up's canvas is high-resolution to give you flexibility, but it cannot upgrade the quality of your source material.
Mistake Two: Pairing Low-Res Designs with a High-Res Scene
Imagine you're presenting a detailed game HUD design. You use a 800px wide screenshot in the 3000px wide Gaming Laptop Mockup 54. Even after the Smart Object scales it, the image will appear pixelated or blurry on the laptop screen, especially if the final image is viewed closely or used in a printed portfolio. The mock-up's quality is wasted, and the focal point of your presentation—your design—looks poor.
The better approach is to match your effort to your goal. If you need a high-resolution final image for a client pitch deck or a portfolio, start with the highest quality version of your own design. Scale your design file to be adequately large before placing it into the Smart Object. Conversely, if your output is solely for a web blog post, you can downscale the entire mock-up composite later. Always check your source file's dimensions and DPI before starting the integration.
The Filter Trap: Enhancement vs. Overpowering
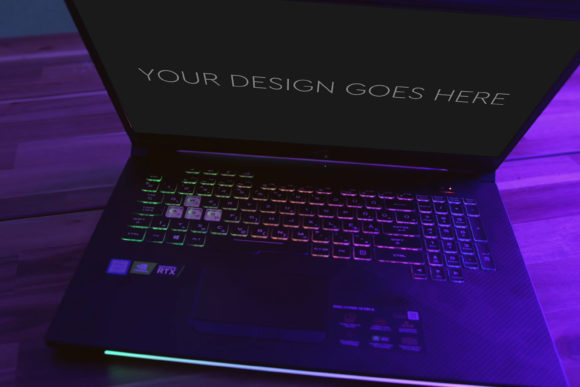
The inclusion of beautiful photo filters is a bonus, but it can become a pitfall. Filters are meant to subtly enhance the ambient mood of the scene—to make the lighting on the laptop feel cohesive and realistic. A frequent error is applying these filters directly onto the inserted design layer or using them at full intensity, which can drastically alter your design's colors, contrast, and intent.
For example, a dark, moody game interface might be complemented by a slight cooler tone filter on the overall scene. But applying a strong, warm filter could make your carefully chosen dark blues look muddy and unnatural. The advice here is to treat filters as scene setters, not design editors. Use them on the overall composite or the background layers, not on your design Smart Object. Preview the effect constantly. Often, the best result comes from a very slight application or even from using the mock-up's base lighting without any additional filter.
What to Evaluate Before You Use or Purchase
Before committing to using Gaming Laptop Mockup 54, run a quick internal checklist. First, confirm your software compatibility. It's a Photoshop PSD-file. Do you have access to Adobe Photoshop, or a tool that can reliably open and edit layered PSDs with Smart Object support? Some free alternatives might not handle these features correctly. Second, consider the context. Does this specific laptop model's aesthetics—its angles, lighting, and style—fit the brand and tone of your design project? A sleek, modern gaming laptop mock-up might not suit a retro-themed game presentation.
Finally, think about your skill level. The mock-up is structured to be very easy to edit, but "easy" is relative. If you're completely new to Photoshop, dedicate thirty minutes to learning two things: how to identify and edit a Smart Object, and how to use layer groups. This small investment prevents hours of frustration and ensures you leverage the automation as intended. The goal is to let the tool handle the complex perspective and lighting, while you focus on what matters: showcasing your design work in its best possible light.
Beyond the Single Image: Thinking in Applications
Many users look at a mock-up as a one-off task: create a single image for a presentation slide. This overlooks its utility across multiple touchpoints. Gaming Laptop Mockup 54, with its consistent high-quality base, can be used to generate a suite of visuals. Once you've mastered the Smart Object insertion, you can create variations swiftly—different screen designs for the same laptop, the same design under different filter moods for A/B testing, or cropped close-ups for social media posts.
The mistake is limiting your output. The better choice is to plan a small series. Before you even open the PSD, decide on three or four applications. For instance, a full mock-up for your website portfolio, a cropped screen-focused version for a Twitter announcement, and a version with a subtle branding watermark in the background for a client proposal. By producing a coordinated set, you enhance your project's professionalism and communication strength exponentially, all from the same foundational mock-up file.
In essence, tools like Gaming Laptop Mockup 54 are bridges between your digital design and the viewer's imagination. Their value isn't just in the beautiful photo filters or the high resolution; it's in the credible context they provide. By avoiding the common pitfalls of technical misuse, quality mismatch, and filter overapplication, you ensure the mock-up serves its true purpose: to make your gaming laptop design look not just presented, but real, compelling, and ready for the spotlight.